- support@bgpgroup.com.au
- 1300 827 154
- NBN Coverage
- Opticomm Coverage
- My PABX

5 min read
Table of contents
At the end of this article, you will be able to change the logo/wallpaper on your Yealink handsets to suit your business needs. Depending on the handset’s capabilities, the logo/wallpaper will be displayed as text, wallpaper or a screensaver.
Please note: Not all Yealink devices provide the ability to change logo/wallpaper settings.
| Model | File Format | Maximum Resolution | Colour | Max File Size |
| CP860 | .dob | 192 x 64 | 2 Colour Grayscale | |
| CP920 | .dob | 248 x 120 | 2 Colour Grayscale | |
| CP960 | .jpg/.png/.bmp | 720 x 1280 | 16-bit depth colour | 5MB |
| EXP50 | .jpg/.png/.bmp | 320 x 240 | 16-bit depth colour | 5MB |
| T19P | .dob | 132 x 64 | 2 Colour Grayscale | |
| T19P E2 | .dob | 132 x 64 | 2 Colour Grayscale | |
| T20P | Техт | |||
| T21P | .dob | 132 x 64 | 2 Colour Grayscale | |
| T21P E2 | .dob | 132 x 64 | 2 Colour Grayscale | |
| T22P | .dob | 132 x 64 | 2 Colour Grayscale | 100KB |
| T23 | .dob | 132 x 64 | 2 Colour Grayscale | |
| T23G | .dob | 132 x 64 | 2 Colour Grayscale | |
| T23P | .dob | 132 x 64 | 2 Colour Grayscale | |
| T26P | .dob | 132 x 64 | 2 Colour Grayscale | 100KB |
| T27G | .dob | 240 x 120 | 2 Colour Grayscale | |
| T28P | .dob | 236 x 82 | 2 Colour Grayscale | 100KB |
| T29 | .jpg/.png/.bmp | 480 x 272 | 16-bit depth colour | 5MB |
| T29G | .jpg/.png/.bmp | 480 x 272 | 16-bit depth colour | 5MB |
| T30 | .dob | 192 x 64 | 2 Colour Grayscale | |
| T30P | .dob | 192 x 64 | 2 Colour Grayscale | |
| T31 | .dob | 192 x 64 | 2 Colour Grayscale | |
| T31G | .dob | 192 x 64 | 2 Colour Grayscale | |
| T31P | .dob | 192 x 64 | 2 Colour Grayscale | |
| T40G | .dob | 132 x 64 | 2 Colour Grayscale | |
| T40P | .dob | 132 x 64 | 2 Colour Grayscale | |
| T41P | .dob | 192 x 64 | 2 Colour Grayscale | |
| T41S | .dob | 192 x 64 | 2 Colour Grayscale | |
| T42G | .dob | 192 x 64 | 2 Colour Grayscale | |
| T42S | .dob | 192 x 64 | 2 Colour Grayscale | |
| T42U | .dob | 192 x 64 | 2 Colour Grayscale | |
| T43U | .dob | 360 x 160 | 2 Colour Grayscale | |
| T46G | .jpg/.png/.bmp | 480 x 272 | 16-bit depth colour | 5MB |
| T46S | .jpg/.png/.bmp | 480 x 272 | 16-bit depth colour | 5MB |
| T48G | .jpg/.png/.bmp | 800 x 480 | 16-bit depth colour | 5MB |
| T48S | .jpg/.png/.bmp | 800 x 480 | 16-bit depth colour | 5MB |
| T49G | .jpg/.png/.bmp | 1280 x 800 | 16-bit depth colour | 5MB |
| T52S | .jpg/.png/.bmp | 320 x 240 | 16-bit depth colour | 5MB |
| T53 | .dob | 360 x 160 | 2 Colour Grayscale | |
| T53W | .dob | 360 x 160 | 2 Colour Grayscale | |
| T54S | .jpg/.png/.bmp | 480 x 272 | 16-bit depth colour | 5MB |
| T54W | .jpg/.png/.bmp | 480 x 272 | 16-bit depth colour | 5MB |
| T56A | .jpg/.png/.bmp | 1024 x 600 | 16-bit depth colour | 5MB |
| T57W | .jpg/.png/.bmp | 800 x 480 | 16-bit depth colour | 5MB |
| T58A | .jpg/.png/.bmp | 1024 x 600 | 16-bit depth colour | 5MB |
| VP59 | .jpg/.png/.bmp | 1024 x 600 | 16-bit depth colour | 5MB |
To generate the logo/wallpaper image, you will need appropriate editing software. There is a diverse range of open and closed-source programs available on the market to create and edit images. Closed-source options include Adobe Photoshop and Corel Draw. Alternatively, open-source options include Microsoft Paint or Paint.net. In the below example, paint.net will be used.
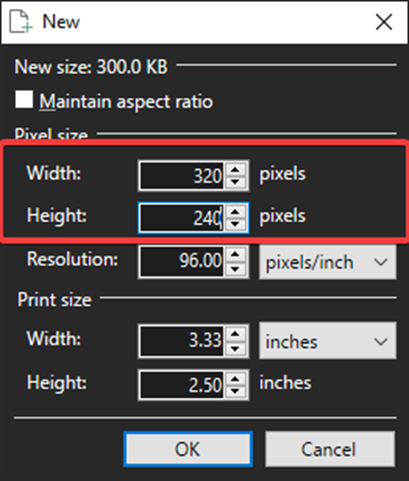
1. Create a new file using the resolution required by your handset.
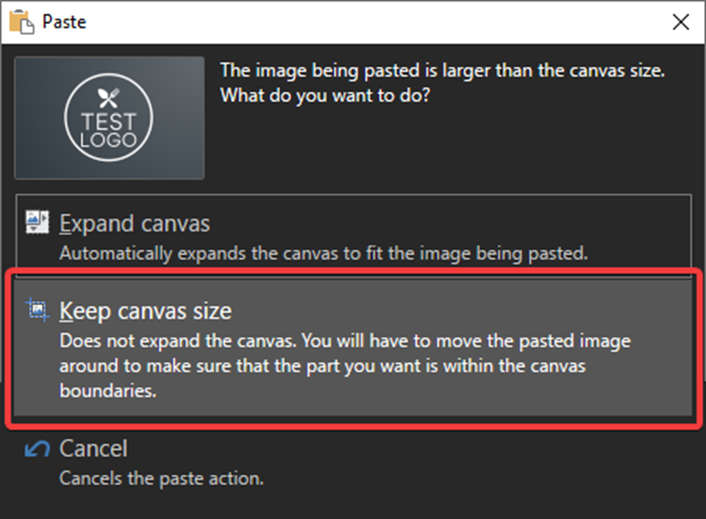
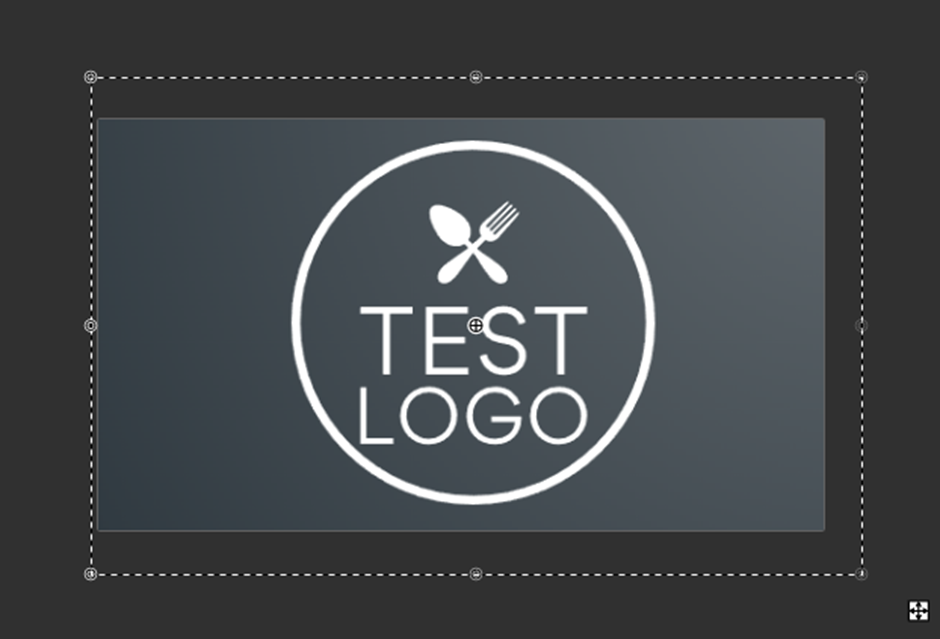
2. When pasting your logo/wallpaper into the new file, ensure that the ‘Keep Canvas Size’ option is selected.
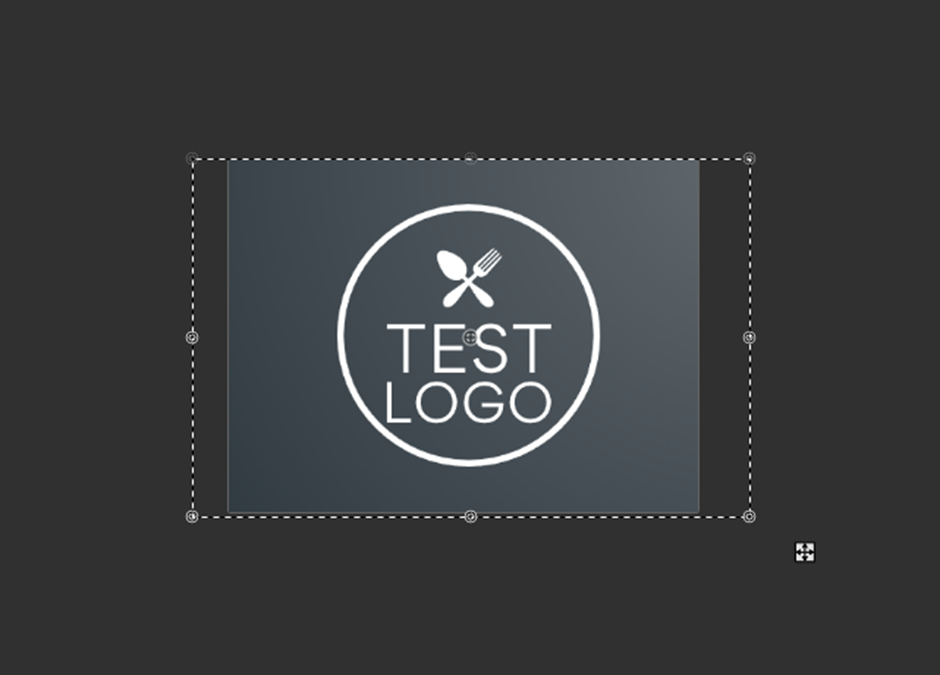
3. Arrange your logo/wallpaper image in the canvas created for optimal sizing.
4. Save the image in PNG format.
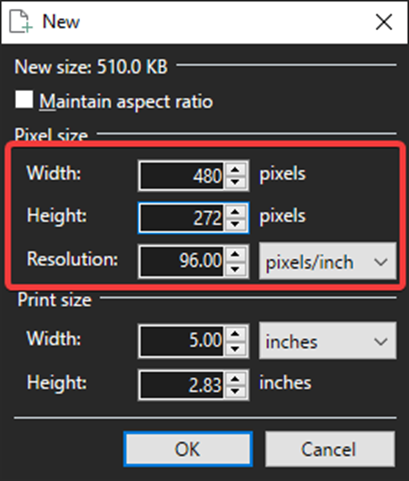
1. Create a new file using the resolution required by your handset.
2. When pasting your logo/wallpaper into the new file, ensure that the ‘Keep Canvas Size’ option is selected.
3. Arrange your logo/wallpaper image in the canvas created for optimal sizing.
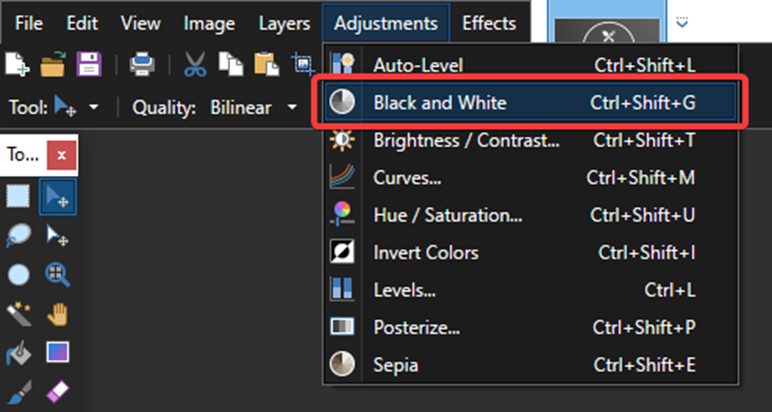
4. Change the colour to Grayscale/Black and White by Selecting ‘Adjustments’ in the menu bar followed by ‘Black & White’.
5. Save the file as a BMP file type.
6. Download Logo/wallpaper Generator here or at the bottom of this page
7. Unzip the archive into a central location.
8. In the location where the archive was unzipped, discover and run ‘PictureExDemo.exe’.
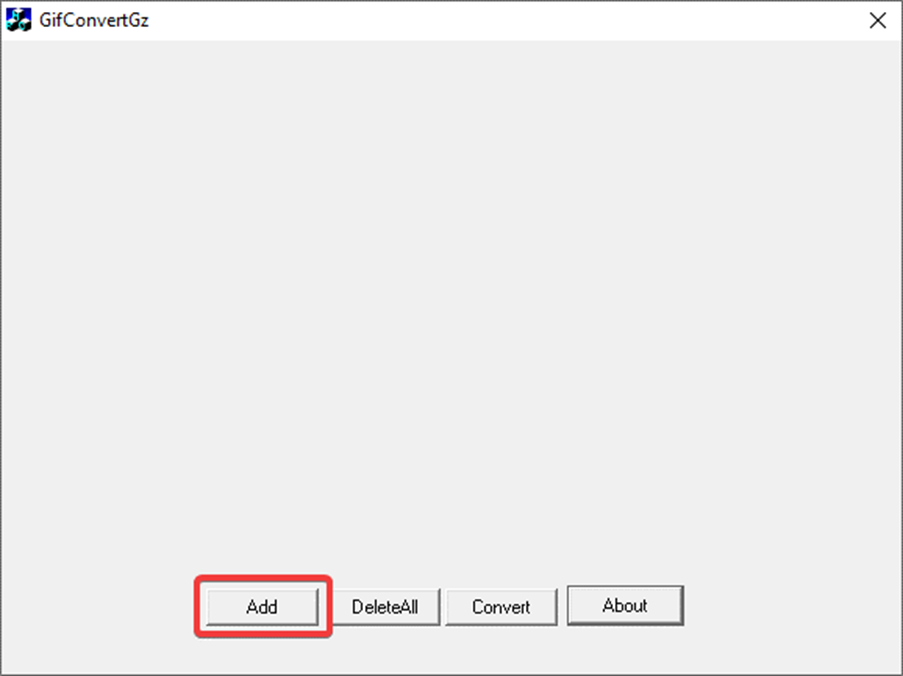
9. In the application window, select Add and locate the BMP image created above.
10. Once the logo/wallpaper is added, click on ‘Convert’.
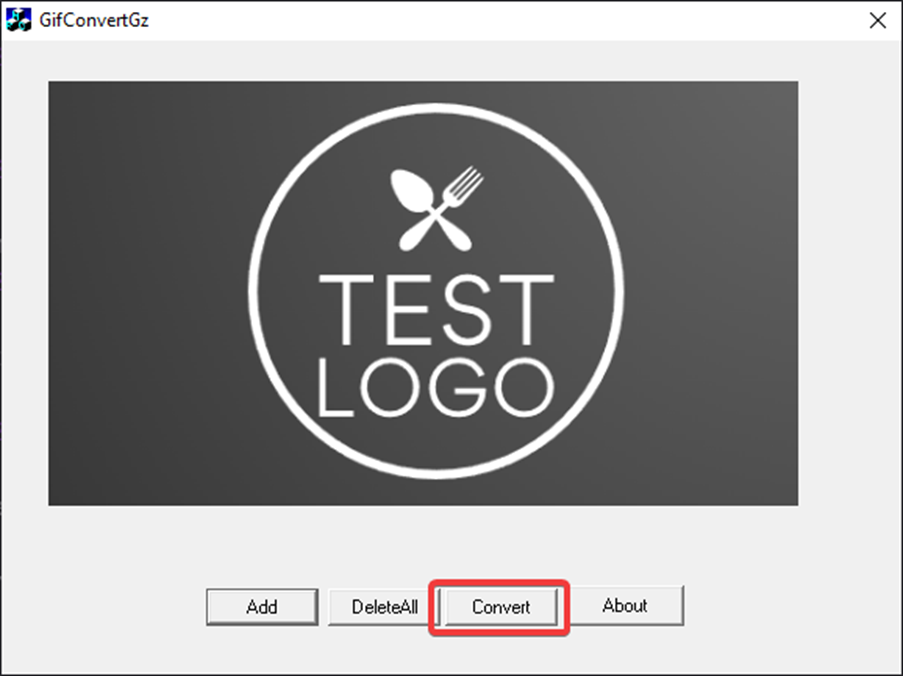
Note: the application does not display messaging of working or completion of the conversion.
11. In the application location (where PictureExDemo.exe is located), locate folder ‘adv’.
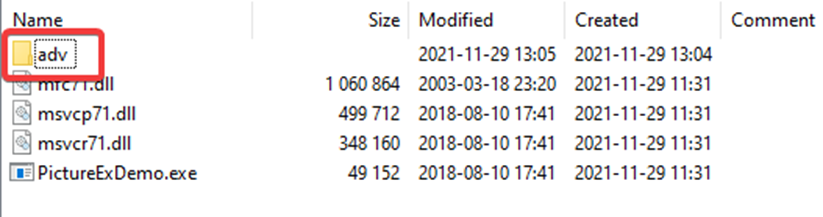
12. Open the folder to locate your logo/wallpaper DOB file.

1. Input the Yealink device IP address in your web browser (you can see it by pressing OK when the phone is idle). Then, to log into the handset management interface use the account name: admin and password: admin if it has not been manually changed.
2. Select the ‘Phone’ tab, then ‘Features’ and locate the ‘upload Logo/wallpaper’ section. The below example is from the T28 interface.
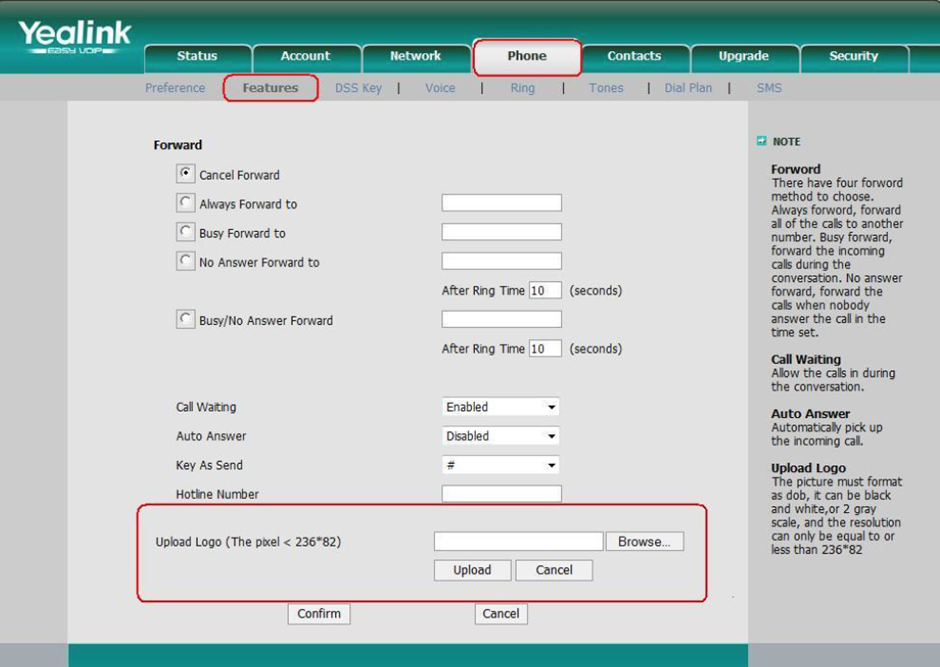
3. Browse to where you saved your logo/wallpaper (PNG or DOB file as required by handset) and click ‘Open’, followed by ‘Confirm’ in the handset management interface.
4. The logo/wallpaper is now ready.
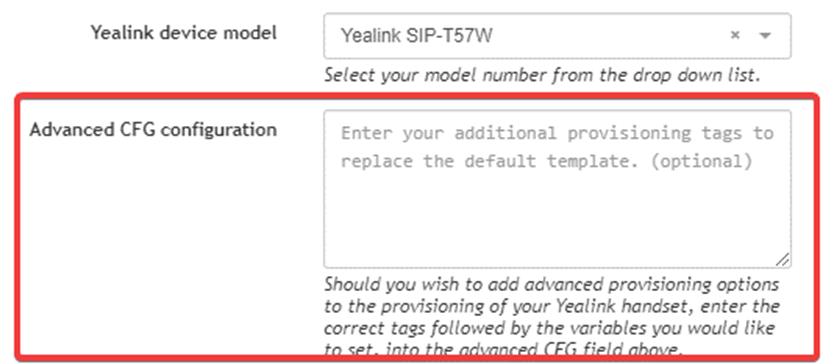
To utilize auto-provisioning, you will need to upload your logo/wallpaper file to a location where the handset has access. This can be local or online. Then insert appropriate code for your handset model into Advanced CFG configuration.
E.g. T29G / T31P / T46G / T46S / T48G / T48S / T48S / T52S / T54S / T54W / T57W
| wallpaper_upload.url = [url]/file_name.extentionphone_setting.backgrounds = file_name.extention |
E.g. T19P / T21P / T23G / T23P / T27G / T40G / T40P / T41P / T41S / T42G / T42S / T53 / T53W
| lcd_logo.url = [url]/file_name.dobphone_setting.lcd_logo.mode = 2 |
IP phones only use logo/wallpaper files in DOB format, as the DOB format file has a high compression ratio (the size of the uncompressed file compared to that of the compressed file) allowing for use in compressed storage spaces. Tools for converting BMP format to DOB format are available.


