Before you use Easy Scan to E-mail, first save your recipients’ email addresses (see How to save an E-mail address). If email addresses are already saved on the machine, do the following:
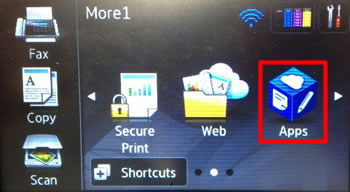
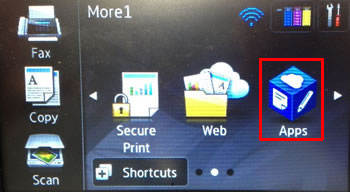
Select the Apps icon.
If you cannot see the Apps icon, tap (right arrow key), (left arrow key), (up arrow key), or (down arrow key) to access the other home screens.
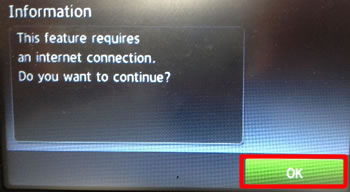
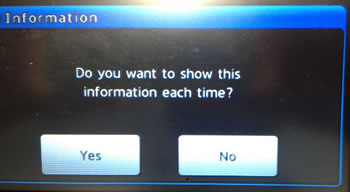
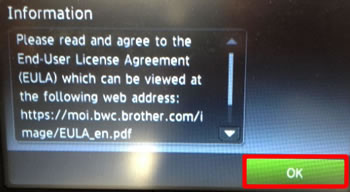
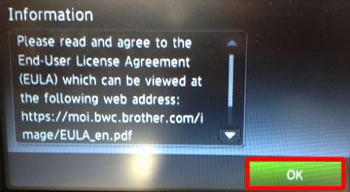
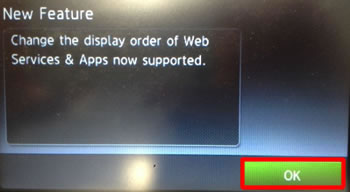
The following prompts may appear (select OK, Yes or No as needed):
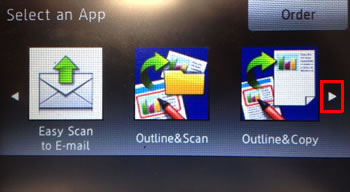
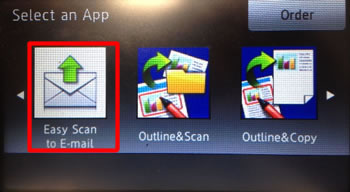
When the Brother Apps menu appears, use the arrow keys to find Easy Scan to E-mail. Select Easy Scan to E-mail. If you cannot find the Easy Scan to E-mail app here, go back to the Home screen and select the Web icon.
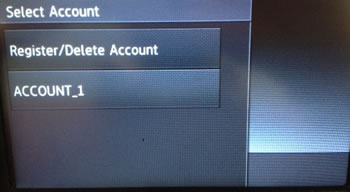
Select the account name for your recipient’s email address.
If the machine prompts you to set a correct date and time, go to the Initial Setup menu and set Date & Time first.
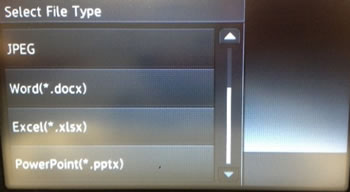
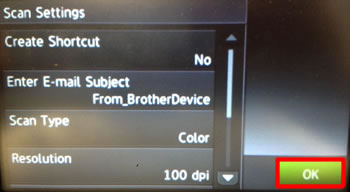
Select the file type you want (PDF, Searchable PDF, JPEG, DOCX, XLSX, or PPTX).
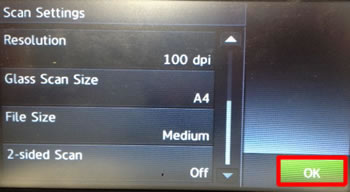
Change any scan settings as needed, and then select OK.
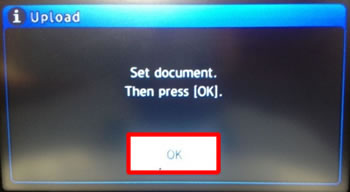
Place the document you want to scan in the Automatic Document Feeder (ADF) or on the flatbed scanner, and then select OK.
The machine scans the document, and then sends it as an email attachment to the recipient you have selected.The recipient will receive the email from the Brother machine’s address. e.g. FromBrotherDevice@brother.comThis address cannot be configured or changed.
You can save up to 10 email addresses for use with Easy Scan to E-mail.
These addresses are not saved in your machine’s standard address book.
Select the Apps icon.
If you cannot see the Apps icon, tap (right arrow key), (left arrow key), (up arrow key), or (down arrow key) to access the other home screens.
The following prompts may appear (select OK, Yes or No as needed):
When the Brother Apps menu appears, use the arrow keys to find Easy Scan to E-mail. If you cannot find the Easy Scan to E-mail app here, go back to the Home screen and select the Web icon.
Select Easy Scan to E-mail.
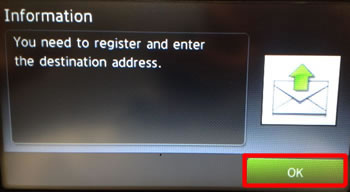
If using Easy Scan to E-mail for the first time, or if there are no email addresses saved, you must register and enter the destination address. Select OK.
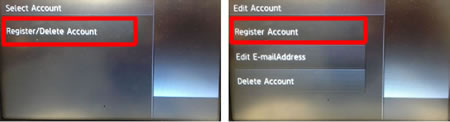
Select Register/Delete and then Register/Delete Account or Register Account.
Select OK.
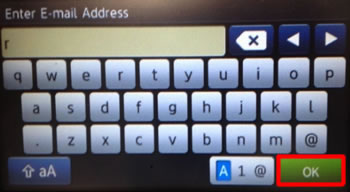
Enter the email address you want using the keypad.The layout of the keypad may vary depending on the Brother machine.
Check whether the email address you have entered is correct, and then select OK.
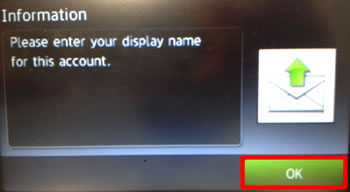
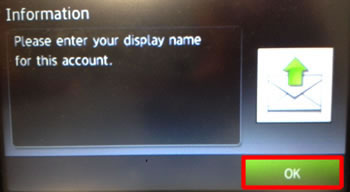
Select OK.
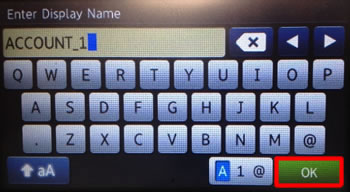
Enter the display name you want using the keypad.
Check whether the display name you have entered is correct, and then select OK.
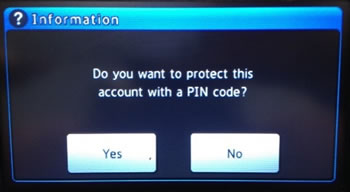
Confirm whether you want to protect this account with a PIN code by selecting Yes or No.The PIN code prevents unwanted scanning to the email address.
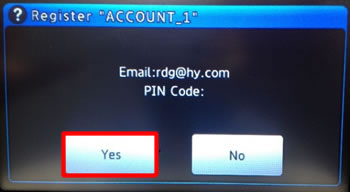
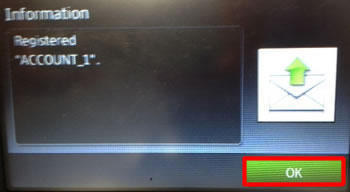
Select Yes to register the account.
Select OK to complete.
How to use Easy Scan To E-mail (With Video Instructions) #

 If you cannot see the Apps icon, tap
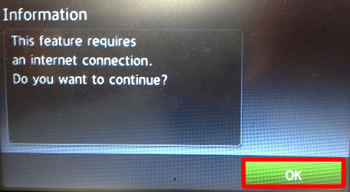


 If you cannot see the Apps icon, tap